Custom Pages

5/28/14

DIY || #23 || CLEAR FLORAL STUDDED PURSE

Pin It!

I think it might be too obvious that spring time influenced this DIY project! Grab those plastic bags (or make your own like I did) and add that extra pop with one thing most people have in their house...nail polish! Here's what you'll need if you're doing it from scratch: nail polish, gold chain, gold clasps, scissors, 1/4 yard of polyurethane material, and a needle & thread.


So let's get started, shall we? First start by cutting the polyurethane into a square, then folding it into a neat envelope shape. Once, set sew the edges together, trim the excess with scissors and attach the golden clasps to the front. Then, the fun part! I first dotted the bag with white nail polish and then painted floral leaves with quick brush strokes in various other colors.


Lastly, punch two holes in the top corners of the bag with a hole punch or with scissors, clip the golden chains through the holes, and voila!


2/12/13

DIY Project || #11 || Turn a Placemat into a Purse

Pin It!
turn a table placemat into a purse
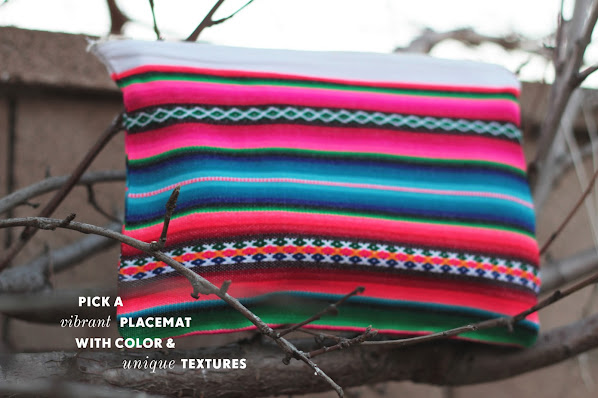
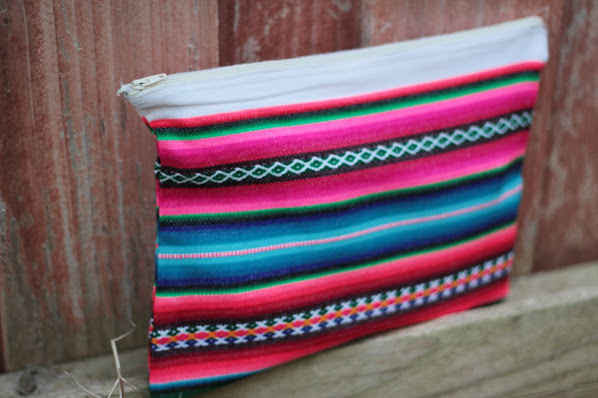
I am so excited to share with you all this quick and easy sewing DIY project. Over the summer of 2010, I had spent eight weeks living and working in La Paz, Bolivia where I bought these gorgeous, colorful placemats in a street market. Thinking I would give them as gifts to friends and family upon return, I fell in love with their vibrant colors and mixed textures -- and of course I wanted to carry this fabulous decor everywhere. Luckily my family only uses a few of them so I took an extra and turned it into a large clutch bag. A fun idea to spice up your dark colored winter wear, let me know what you think!

INGREDIENTS YOU'LL NEED:


INSTRUCTIONS:

STEP ONE: Fold the placemat in half, then begin pinning one end onto the top of the zipper.
turn a table placemat into a large clutch purse
STEP TWO: Taking the other end of the placemat, pin it to the other arm of the zipper. Try opening and closing the zipper to ensure that the placemat does not inhibit the zipper in any way.

DIY turn a table placemat into a large clutch purse


STEP THREE: Sew the edges onto the zipper.
STEP FOUR: Next, turn the bag inside out.

DIY turn a table placemat into a large clutch purse

STEP FIVE: Sew the right side of the bag (where the zipper ends). Repeat to the left side of the bag. If the zipper is longer than the length of the bag, make sure the zipper piece you pull is located inside the area you sew.
STEP SIX: Trim the edges on the sides of the bag for a clean seam inside.

DIY turn a table placemat into a large clutch purse

STEP SEVEN and EIGHT: Turn the bag right-side-out and lightly iron the zipper along the inside of the bag and then along the outer surface for a crisp look.

THE FINAL LOOK:

DIY turn a table placemat into a large clutch purse

1/22/13

DIY Project || #8 || Chain Purse from Pencil Case

Pin It!
DIY from pencil case to chain purse

INGREDIENTS:
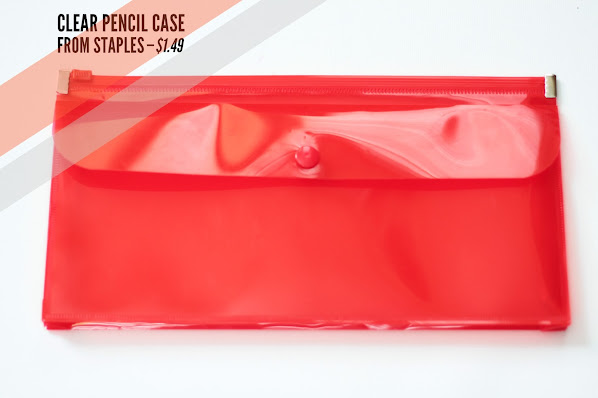
Clear pencil case (from Staples)
Golden chain with clasps
Scissors

DIY from pencil case to chain purseINSTRUCTIONS
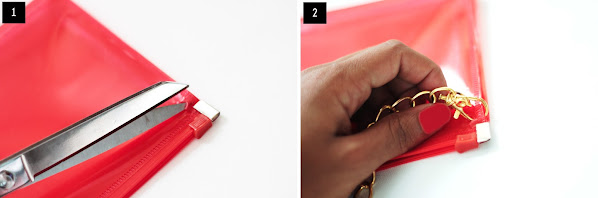
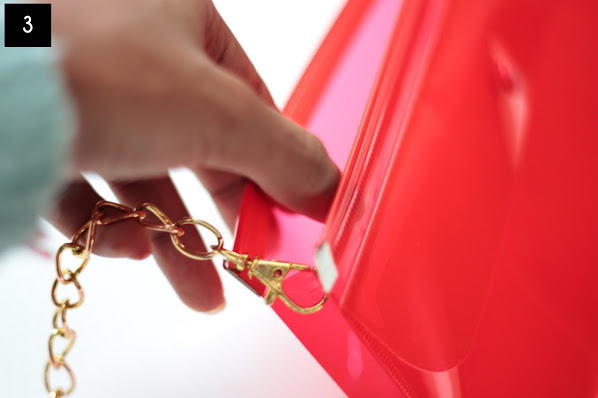
DIY from pencil case to chain purseSTEP ONE: Using scissors or a hole punch, snip a small hole onto the back inside of the pouch near the right end (where the zip line hits when completely opened).
STEP TWO: The chain I used comes from another purse I have, so it was easy to slide the clasps into the newly made hole on the pencil case. If you have a similar type of chain, I'd suggest that. If not, craft stores like Michael's and Joann's have chains and clasps you can purchase and easily put together.

DIY from pencil case to chain purse
STEP THREE: Repeat steps #1 and #2 on the left hand side, this time making a slit on the inside bend on the left side of the pouch.

FINAL LOOK:

DIY from pencil case to chain purse

GET KIPI EVERY WEEK IN YOUR EMAIL!